When developing and extending WordPress, it’s important to have a great development environment from the get-go. I’ve tried all sorts of software solutions from WAMPP, to MAMPP, to installing a LAMP stack manually. By far the easiest development environment I’ve used thus far is an application called Local.
Local is an application that runs on your computer where you can spin up WordPress websites extremely easily. Websites created by Local are hosted locally on your computer, which makes editing and debugging any code you write easy. Flywheel has an easy guide on how to get Local set up for the operating system you’re using.
Head over to Local’s releases page and download Local for your operating system. The interface for local is identical across all platforms which is really neat. As an avid Linux user, I will be demonstrating Local using Ubuntu.
Once Local is installed, open the application. Now, mine isn’t empty by any stretch. Yours will look empty because, well, it is. The general layout should look something like this:
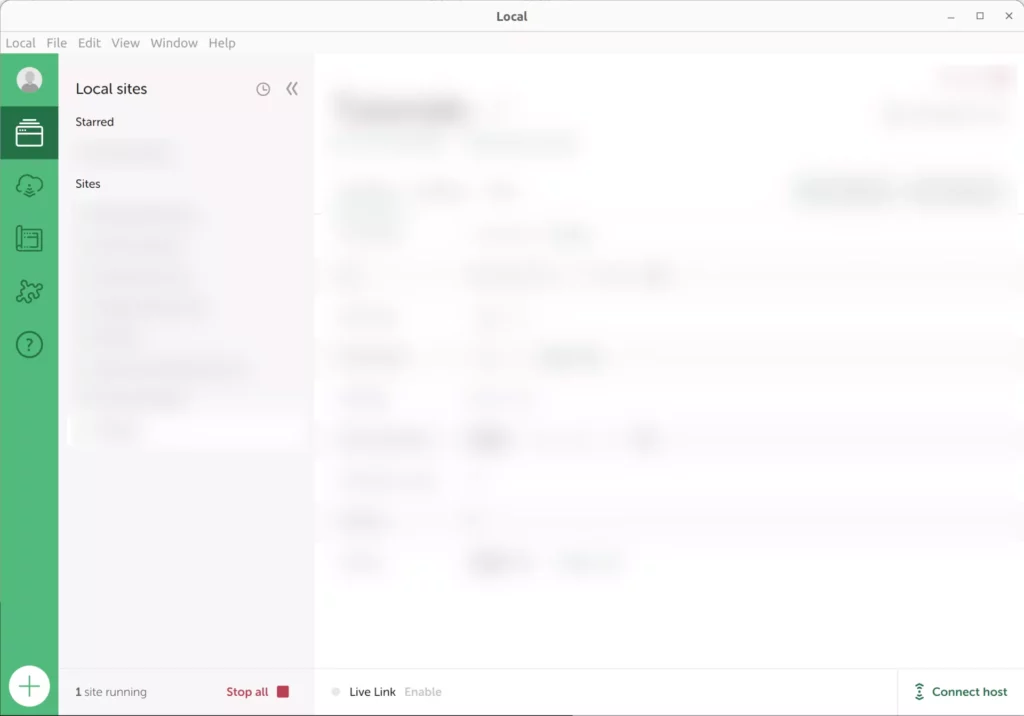
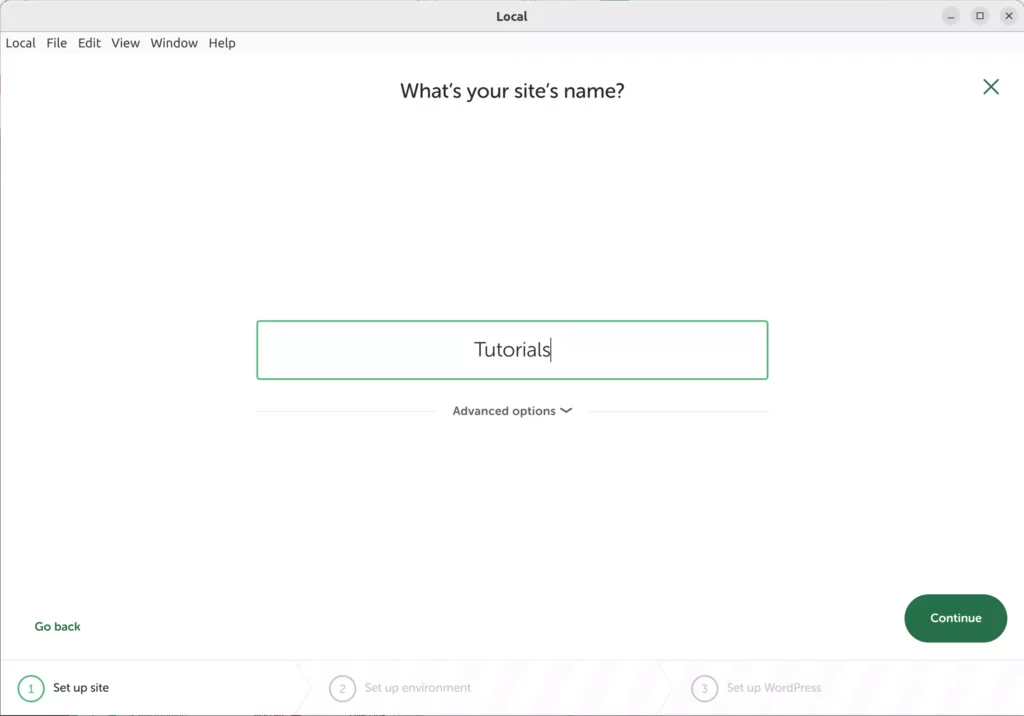
To create your first site, click the big plus (+) button in the bottom-left corner. You will then be prompted to give a name for this new site. I named mine “Tutorials” as I need a site to write these tutorials on! Once you’ve entered a name, click the Continue button.
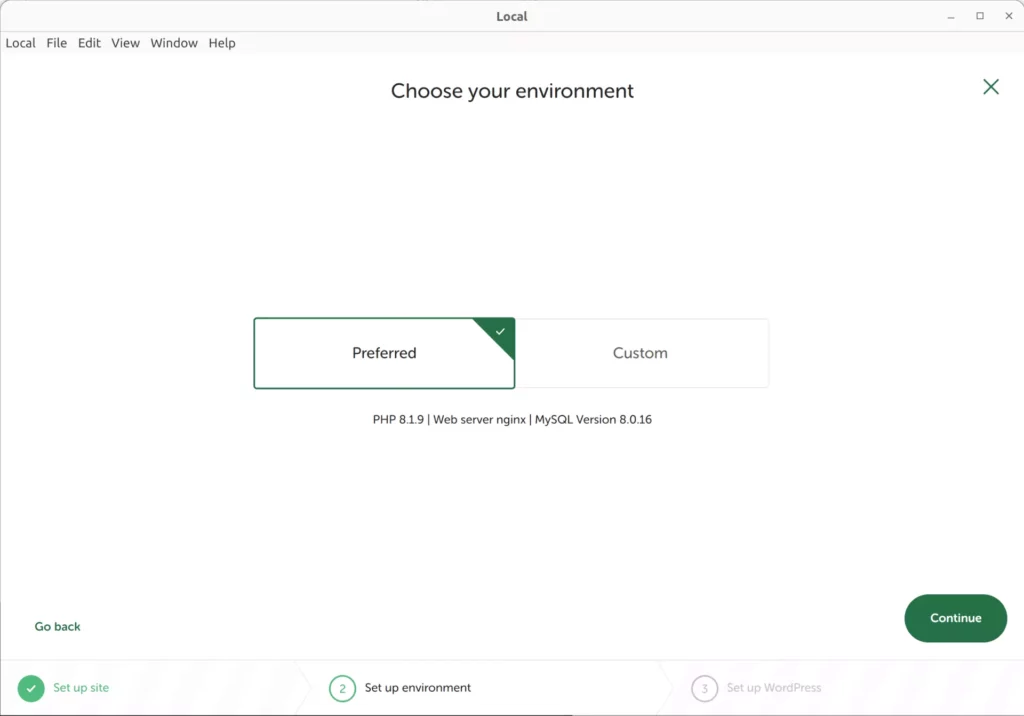
A new screen will appear entitled, “Choose your environment”. You will be presented with two options: Preferred, and Custom.
Generally the “Preferred” environment is great (and what I want) when doing development work. There are times where you may want to test a plugin you’re developing in a different environment. That is a good time to explore the settings of the “Custom” environment. Leave the “Preferred” option selected and click the Continue button.
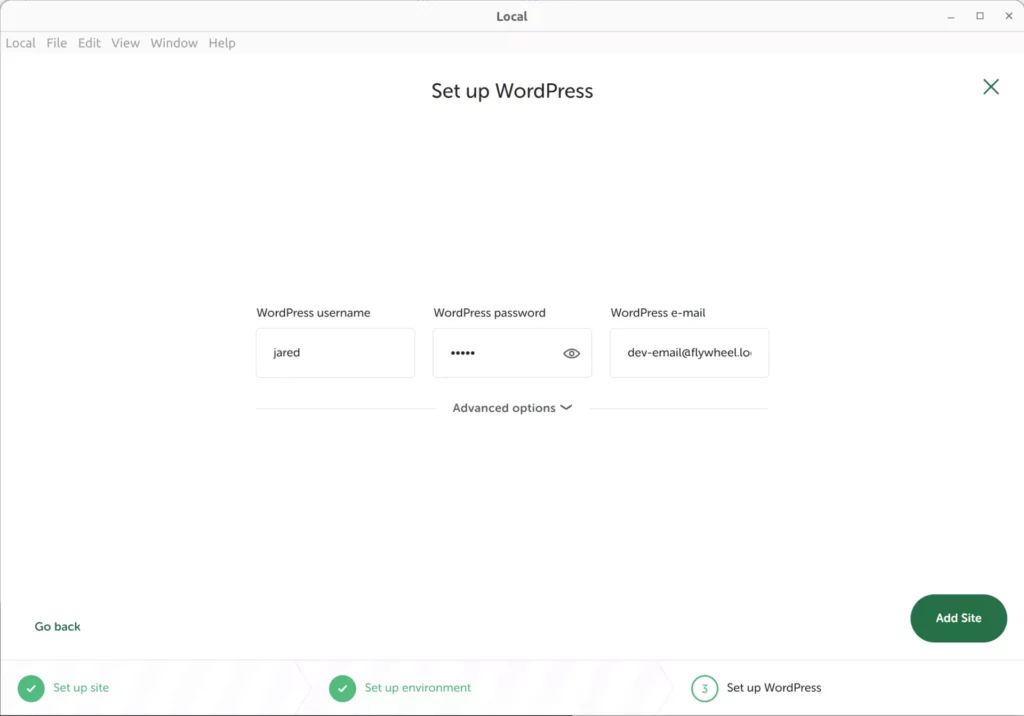
You will be greeted with a final screen asking what you would like your WordPress credentials to be. I just enter my name and a super secure password. With that, click the Add Site button. Local will set up your new WordPress installation!
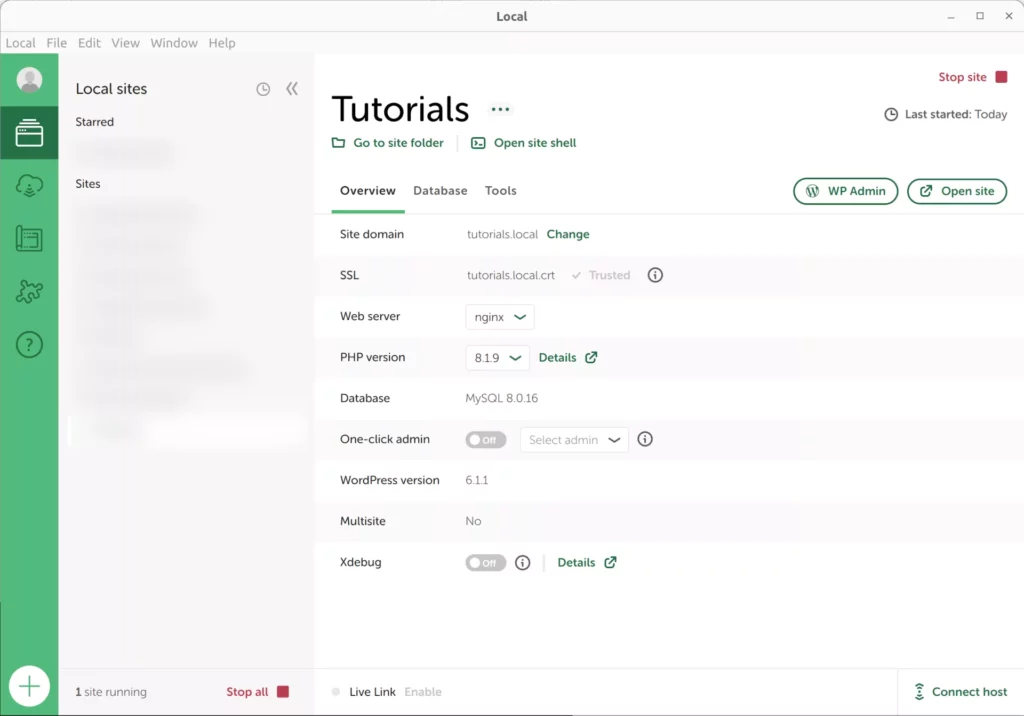
Once it’s all set up, you should see the following options for your new site in the main Local window. To start the local hosting for your site, you can either click the “Start site” button in the top-right, or in the “Local sites” list on the left.
In Conclusion
I hope this guide has been helpful. Local can do many other things, but I want to help fellow developers get off to the races. It’s extremely convenient to be able to develop locally. One of the biggest benefits I find most useful is being able to make debug and make corrections to my projects without having to reupload them through an (S)FTP connection.
Leave a Reply